

ePDS (extended PDS)
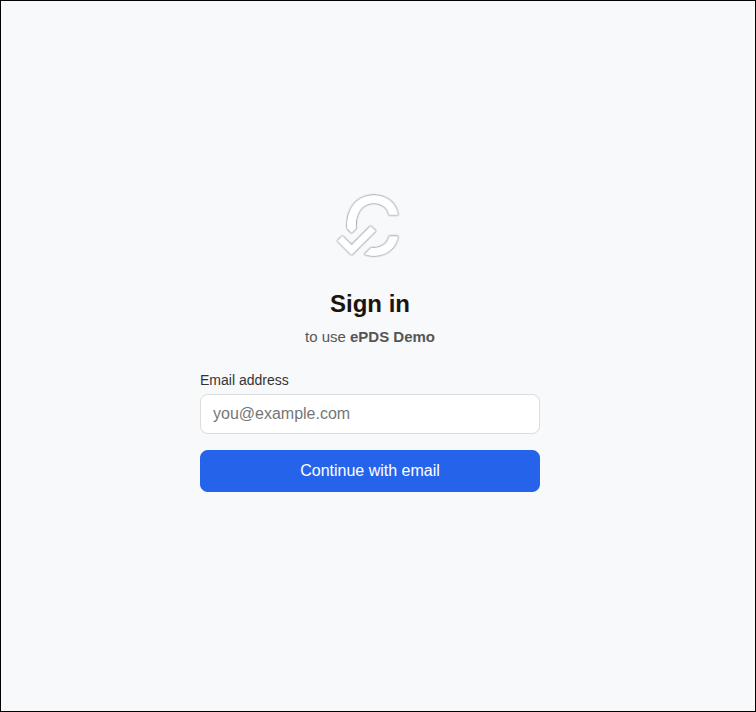
The ePDS adds email-based, passwordless sign-in on top of a standard AT Protocol PDS. Users enter their email, receive a one-time code, and end up with a normal AT Protocol session tied to a DID.
Certified operates production, staging, and test ePDS instances. See Certified services for the current hostnames and guidance on which to use in which scenario.
For applications, the important part is that ePDS still finishes by issuing a standard AT Protocol authorization code. In practice, this means you can integrate it with @atproto/oauth-client-node.
System overview
Client App
  -> starts AT Protocol OAuth against the PDS


PDS Core
  -> remains the OAuth issuer and token endpoint
  -> advertises the Auth Service as the authorization endpoint


Auth Service
  -> collects the user's email or OTP
  -> verifies the user
  -> returns control to PDS Core via signed callback


PDS Core
  -> issues a normal authorization code


Client App
  -> exchanges the code for tokens
The PDS remains the OAuth issuer and token endpoint. The main difference is that the authorization step happens on the ePDS Auth Service, which handles the email and OTP flow before returning control to the PDS.
Integrating with @atproto/oauth-client-node
ePDS works with the standard AT Protocol OAuth client libraries. The main ePDS-specific behavior is how you shape the authorization URL before redirecting the user.
Flow 1: your app collects the email
In Flow 1, your app has its own email field. Start OAuth normally, then add login_hint=<email> to the authorization URL before redirecting the user.
import { NodeOAuthClient } from '@atproto/oauth-client-node'


const oauthClient = new NodeOAuthClient({
  clientMetadata: {
    client_id: 'https://yourapp.example.com/client-metadata.json',
    client_name: 'Your App',
    client_uri: 'https://yourapp.example.com',
    redirect_uris: ['https://yourapp.example.com/api/oauth/callback'],
    scope: 'atproto transition:generic',
    grant_types: ['authorization_code', 'refresh_token'],
    response_types: ['code'],
    token_endpoint_auth_method: 'none',
    dpop_bound_access_tokens: true,
  },
  stateStore,
  sessionStore,
})


const url = await oauthClient.authorize('alice.certified.one', {
  scope: 'atproto transition:generic',
})


// ePDS-specific customization happens here.
const authUrl = new URL(url)
authUrl.searchParams.set('login_hint', email)
authUrl.searchParams.set('epds_handle_mode', 'picker-with-random')


return authUrl.toString()
Do not put an email address into the PAR body as login_hint. For ePDS, add login_hint to the authorization URL instead.
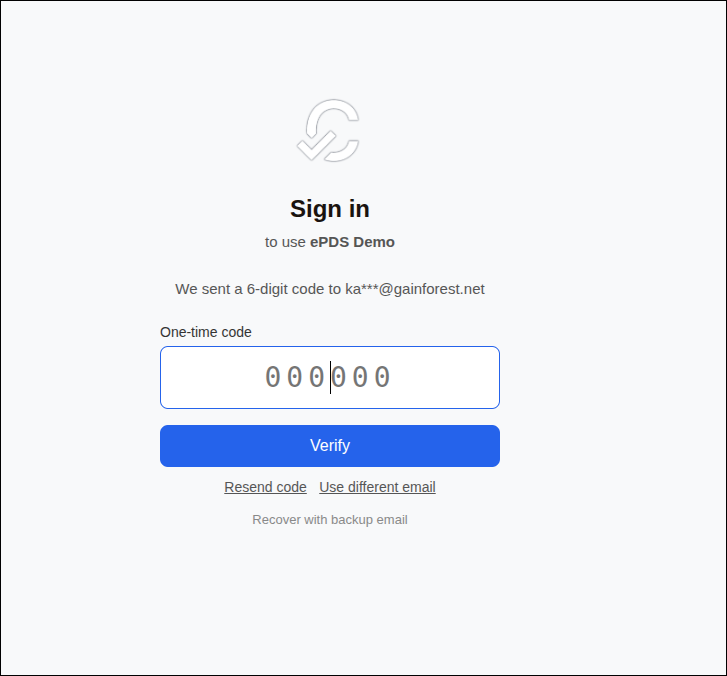
With login_hint set, the user lands directly on the OTP entry step instead of first seeing an email form on ePDS.
Flow 2: ePDS collects the email
In Flow 2, your app just shows a "Sign in" button. Start OAuth normally and redirect the user to the authorization URL without login_hint.
import { NodeOAuthClient } from '@atproto/oauth-client-node'


const oauthClient = new NodeOAuthClient({
  clientMetadata: {
    client_id: 'https://yourapp.example.com/client-metadata.json',
    client_name: 'Your App',
    client_uri: 'https://yourapp.example.com',
    redirect_uris: ['https://yourapp.example.com/api/oauth/callback'],
    scope: 'atproto transition:generic',
    grant_types: ['authorization_code', 'refresh_token'],
    response_types: ['code'],
    token_endpoint_auth_method: 'none',
    dpop_bound_access_tokens: true,
  },
  stateStore,
  sessionStore,
})


const url = await oauthClient.authorize('alice.certified.one', {
  scope: 'atproto transition:generic',
})


const authUrl = new URL(url)
authUrl.searchParams.set('epds_handle_mode', 'picker')


return authUrl.toString()
Without login_hint, ePDS renders its own email form and takes the user through the rest of the OTP flow.
Callback handling
Callback handling stays standard. Once the user finishes on ePDS, your callback handler receives a normal authorization code and hands it back to oauth-client-node.
const result = await oauthClient.callback(params)


const session = result.session
const did = session.did
Handle modes
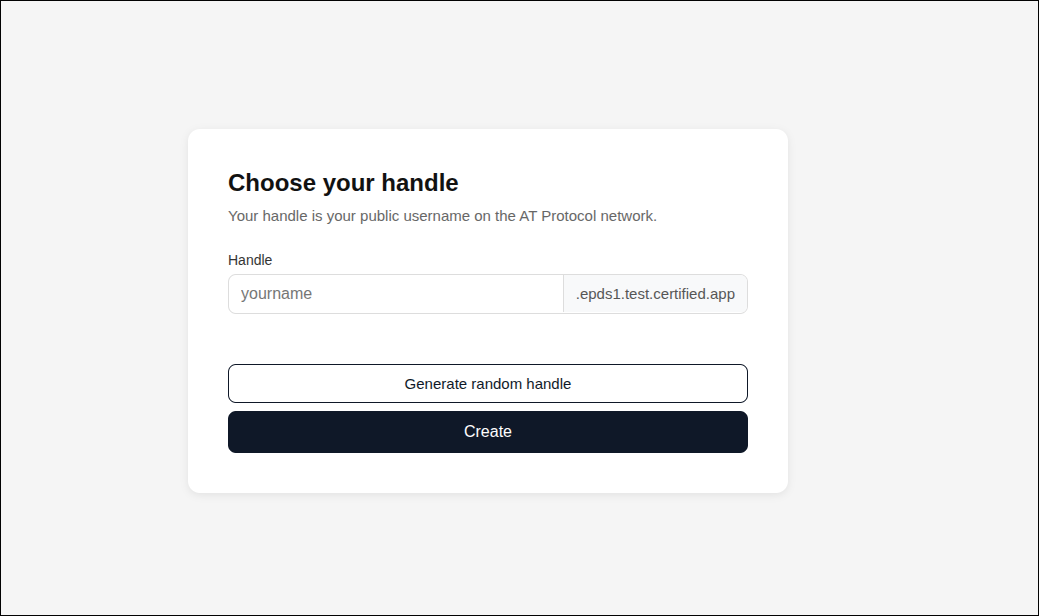
Handle mode controls what happens when a brand new user needs a handle during signup.
| Mode | Behavior |
|---|---|
picker-with-random | Show the handle picker with a "Generate random" option. |
picker | Show the handle picker without a random option. |
random | Skip the picker and assign a random handle automatically. |
Handle mode is resolved in this order:
epds_handle_modequery param on the authorization URLepds_handle_modein client metadata- The ePDS instance default (
EPDS_DEFAULT_HANDLE_MODE)
This only affects new account creation. Existing users keep their current handle and skip this step.
Client metadata
Your client metadata file is a public JSON document served over HTTPS. Its URL is also your client_id.
Bare-bones example
{
  "client_id": "https://yourapp.example.com/client-metadata.json",
  "client_name": "Your App",
  "client_uri": "https://yourapp.example.com",
  "redirect_uris": ["https://yourapp.example.com/api/oauth/callback"],
  "scope": "atproto transition:generic",
  "grant_types": ["authorization_code", "refresh_token"],
  "response_types": ["code"],
  "token_endpoint_auth_method": "none",
  "dpop_bound_access_tokens": true
}
Full config example
{
  "client_id": "https://yourapp.example.com/client-metadata.json",
  "client_name": "Your App",
  "client_uri": "https://yourapp.example.com",
  "logo_uri": "https://yourapp.example.com/logo.png",
  "redirect_uris": ["https://yourapp.example.com/api/oauth/callback"],
  "scope": "atproto transition:generic",
  "grant_types": ["authorization_code", "refresh_token"],
  "response_types": ["code"],
  "token_endpoint_auth_method": "none",
  "dpop_bound_access_tokens": true,
  "brand_color": "#0f172a",
  "background_color": "#ffffff",
  "email_template_uri": "https://yourapp.example.com/email-template.html",
  "email_subject_template": "{{code}} - Your {{app_name}} code",
  "branding": {
    "css": "body { background: #0f172a; color: #e2e8f0; }"
  },
  "epds_handle_mode": "picker-with-random"
}
The extra branding fields customize the hosted login and email experience. epds_handle_mode sets your preferred handle mode for new users unless you override it on the authorization URL.
Branding and customization
How branding works
ePDS reads branding settings from your app's client-metadata.json, using the OAuth client_id to look it up. Standard metadata fields like logo_uri, brand_color, background_color, email_template_uri, and email_subject_template customize the hosted login and email experience.
Trusted clients can go further by adding custom CSS in client metadata under branding.css:
{
  "branding": {
    "css": "body { background: #0f172a; color: #e2e8f0; }"
  }
}
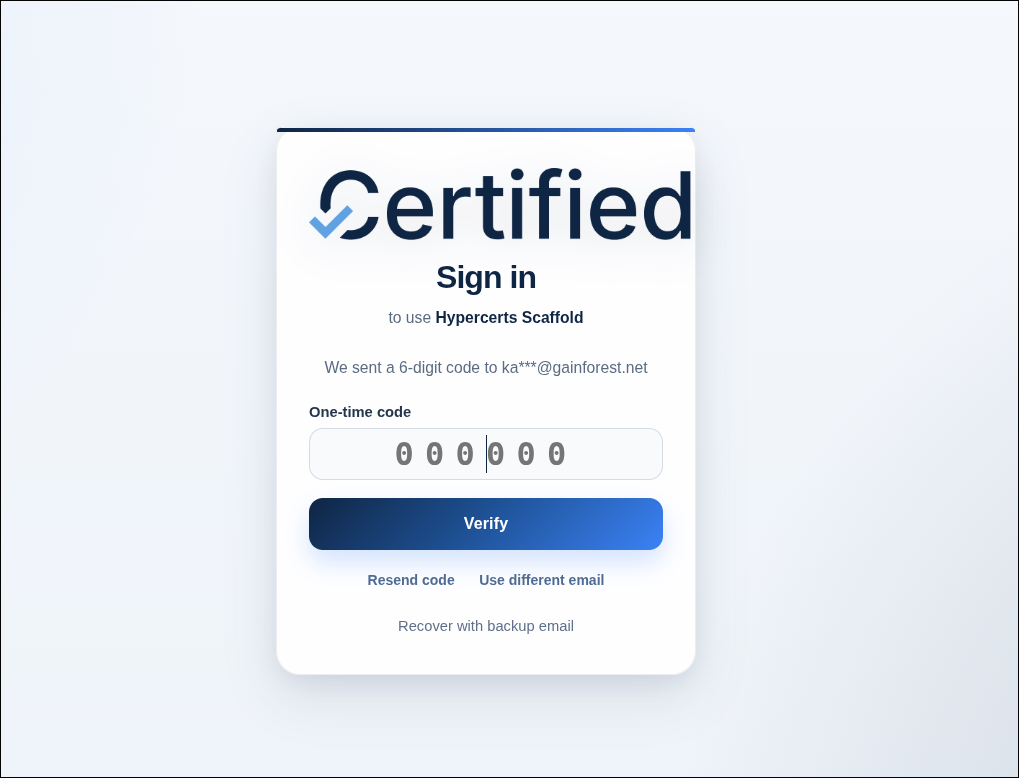
When the client is trusted, ePDS injects that CSS into its hosted auth pages and the stock consent page.
Trust is checked against the exact client_id.
The client_id you send during OAuth, the client_id inside client-metadata.json, and the entry in PDS_OAUTH_TRUSTED_CLIENTS must all be identical.
For example, if your client metadata says "client_id": "https://hypercerts-scaffold.vercel.app/client-metadata.json", then PDS_OAUTH_TRUSTED_CLIENTS must contain https://hypercerts-scaffold.vercel.app/client-metadata.json — not just https://hypercerts-scaffold.vercel.app. See the Scaffold Starter App for a concrete example of a client serving metadata from /client-metadata.json.
Client metadata branding fields
These fields are the main branding controls exposed through client metadata:
| Field | What it affects |
|---|---|
logo_uri | App logo shown in hosted auth and email flows |
brand_color | Primary brand color used by hosted screens |
background_color | Background color for hosted screens |
email_template_uri | Custom HTML template for OTP emails |
email_subject_template | Subject line template for OTP emails |
branding.css | Custom CSS for trusted clients |
CSS injection for trusted clients
Custom CSS is only applied for clients whose exact client_id appears in PDS_OAUTH_TRUSTED_CLIENTS. When present, ePDS injects a <style> tag into the rendered page, sanitizes the CSS to prevent </style> tag closure, and updates the page's CSP style-src directive with a SHA-256 hash for the injected stylesheet.
This gives operators a safety boundary: untrusted clients never get CSS injection, even if their metadata contains branding CSS.
Where branding appears
The send-OTP and initial-OTP screens are two states of the same auth-service route: https://auth.epds1.test.certified.app/oauth/authorize.
| Surface | URL | Supports branding |
|---|---|---|
| Send OTP | https://auth.epds1.test.certified.app/oauth/authorize | Metadata fields + trusted-client CSS |
| Initial OTP | https://auth.epds1.test.certified.app/oauth/authorize | Metadata fields + trusted-client CSS |
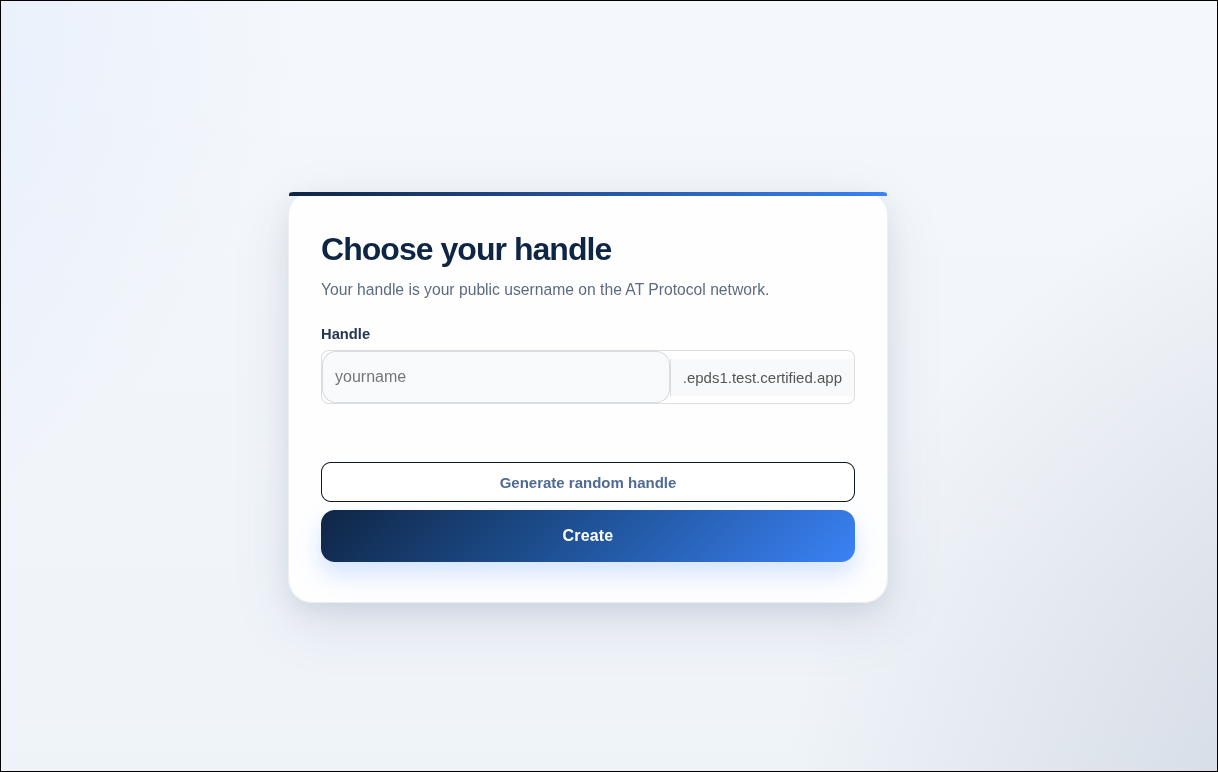
| Choose handle | https://auth.epds1.test.certified.app/auth/choose-handle | Metadata fields + trusted-client CSS |
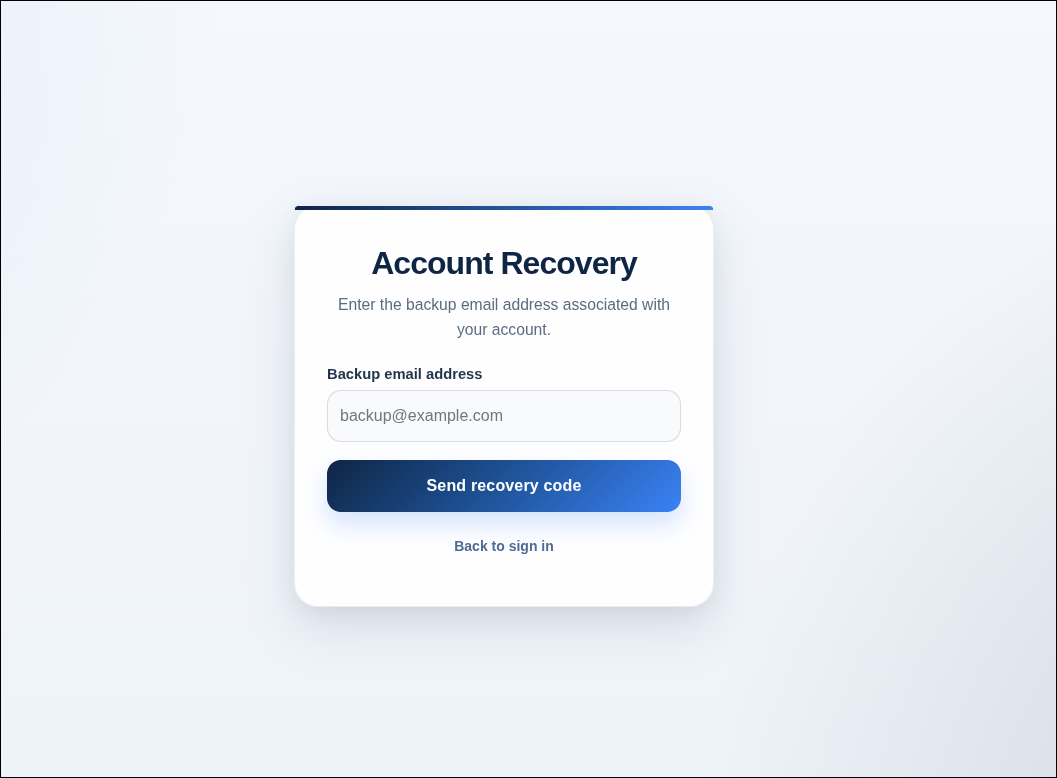
| Recovery | https://auth.epds1.test.certified.app/auth/recover | Metadata fields + trusted-client CSS |
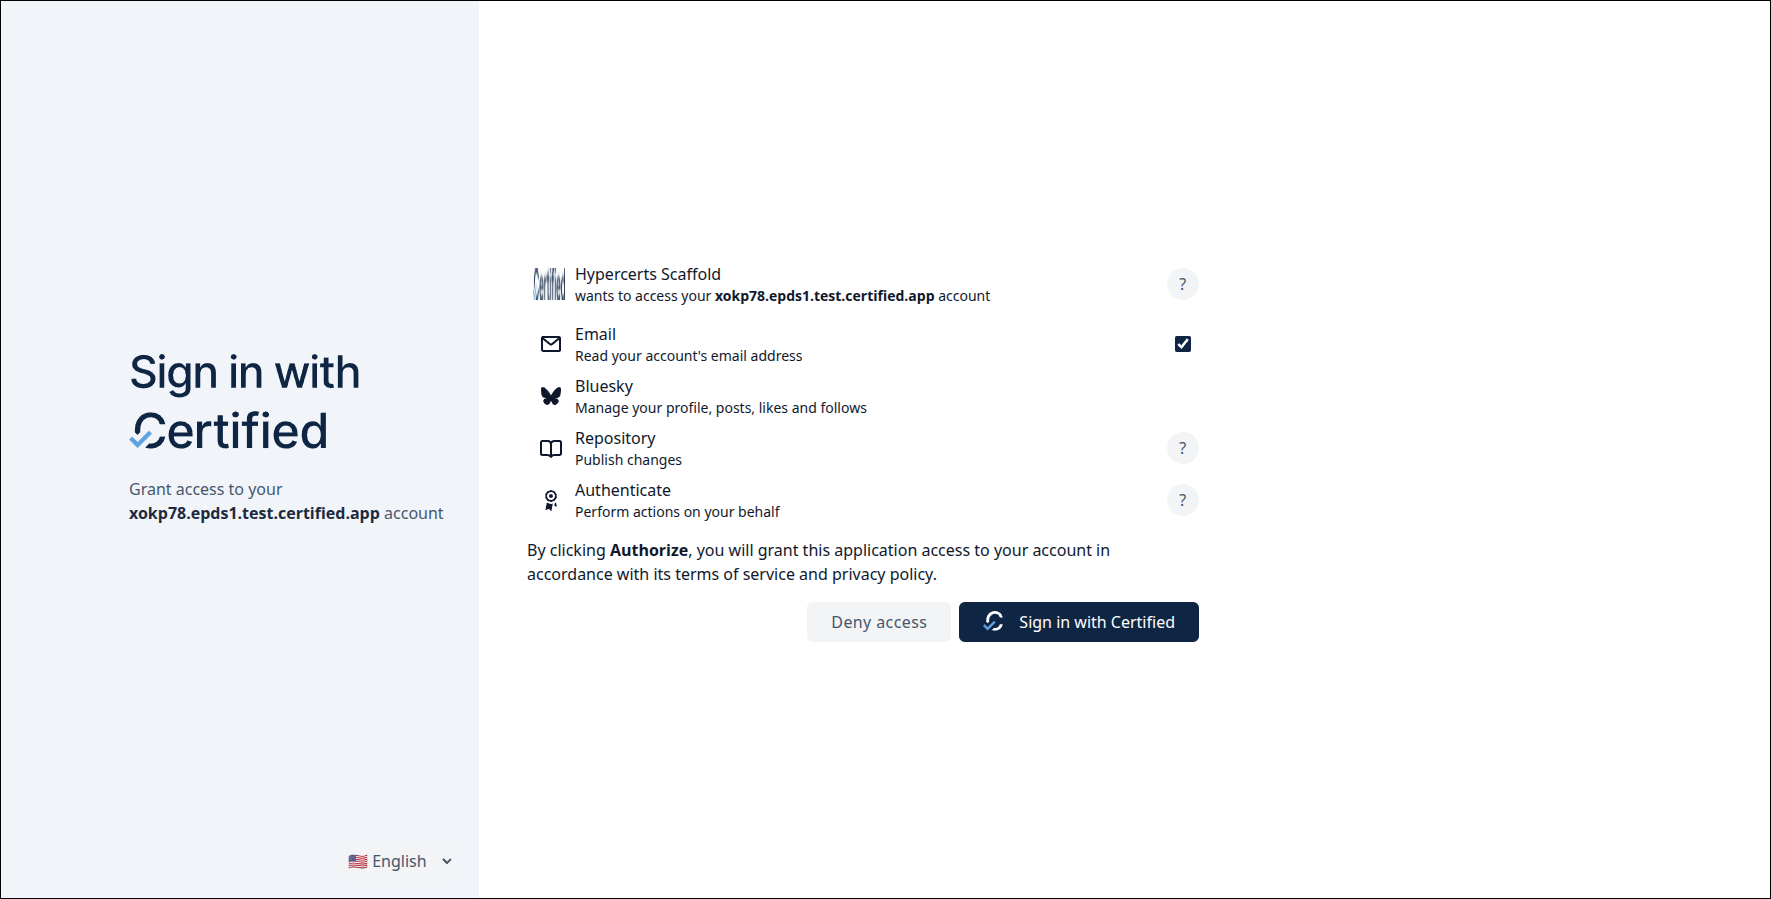
| Consent page | https://epds1.test.certified.app/oauth/authorize | Trusted-client CSS |
Examples
Send OTP
Stock
CSS injected

Initial OTP
Stock
CSS injected
Choose handle
Stock
CSS injected
Consent page
Stock
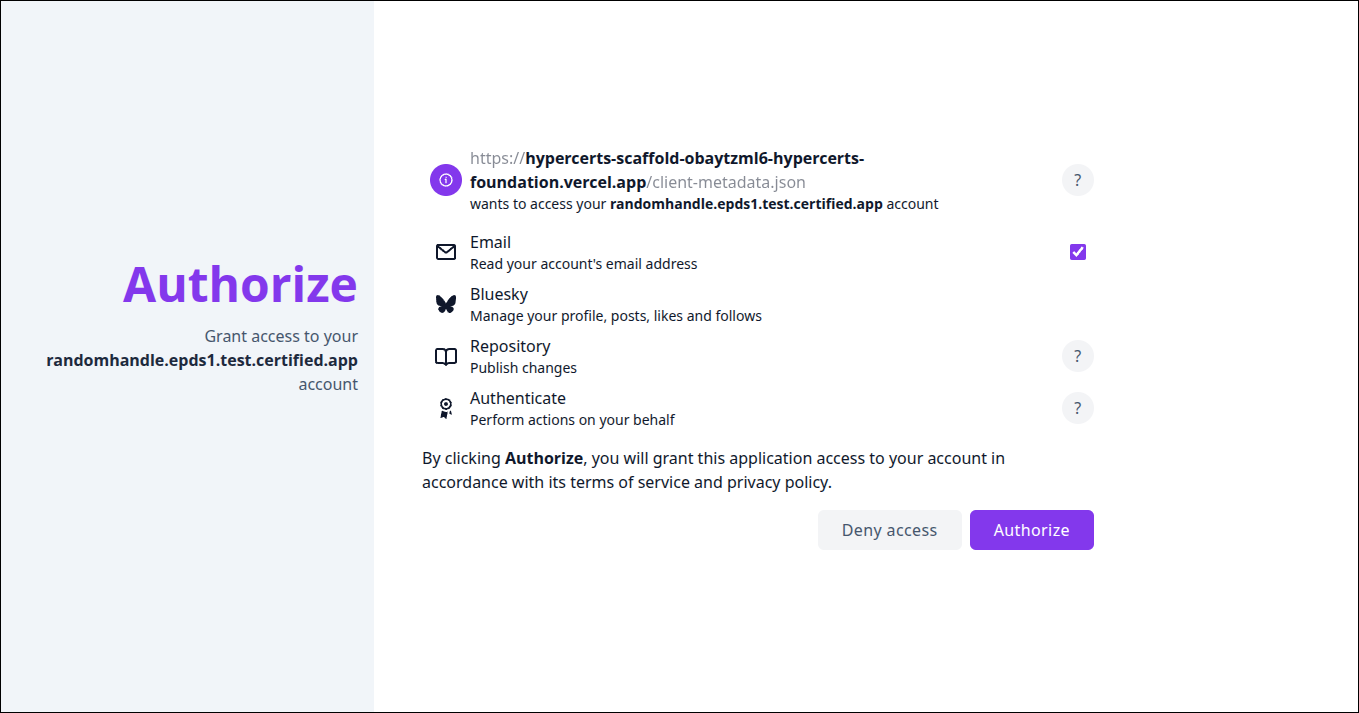
CSS injected
Recovery
Stock
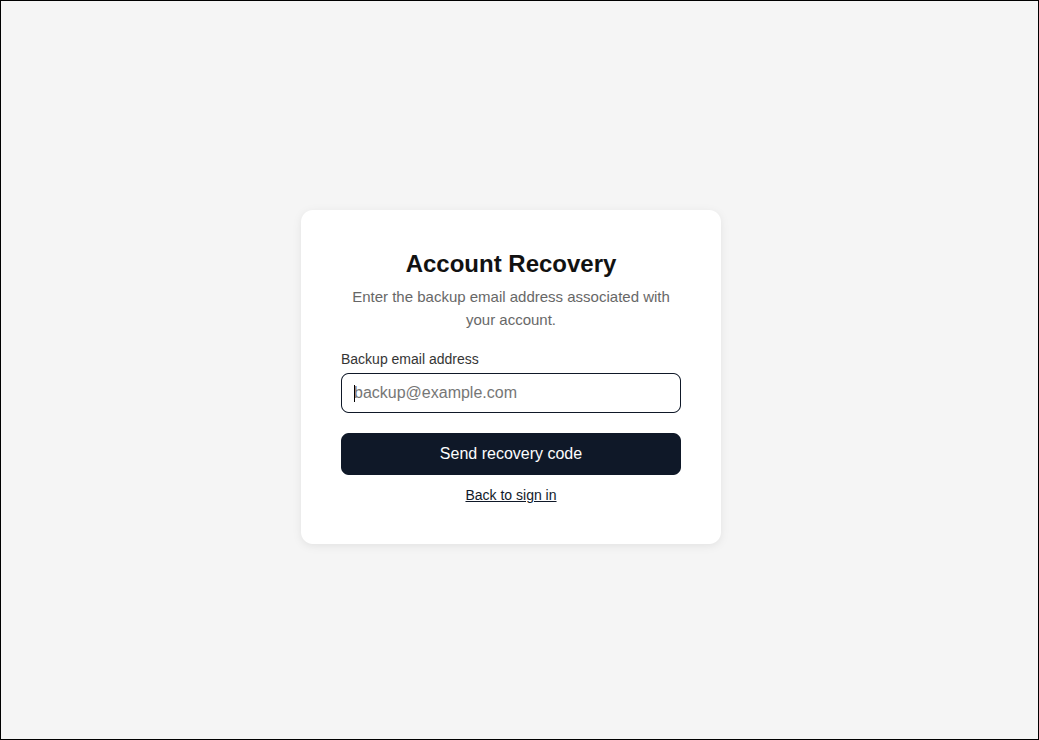
CSS injected
Further reading
- Account & Identity Setup
- Certified PDSs — the production, staging, and test ePDS instances Certified operates
- Certified Group Service (CGS) — a governance layer that sits in front of a PDS to support multi-identity, role-based repo management
- Scaffold Starter App
- ePDS repository
- Install the ePDS agent skill with
npx skills add hypercerts-org/ePDS --skill epds-login